Premise
Hi everyone, this post will be the final of five posts. I am going to make her princess crown and pearl necklace. See the Related Articles or playlist to find out other related posts and videos. Please feel free to follow the design or do your own or use any material which you already have to handcraft on it.
YOU WILL NEED
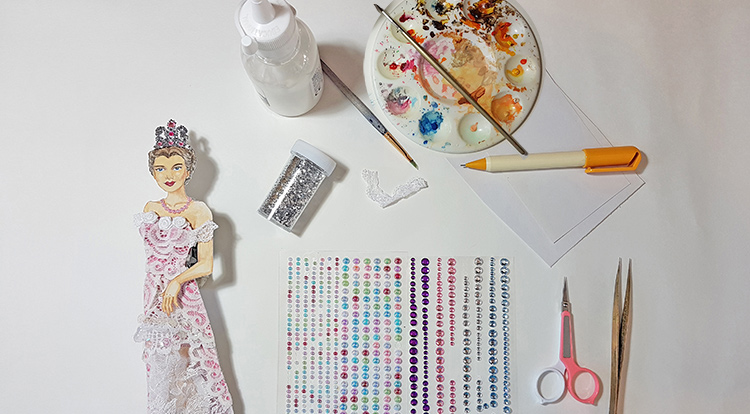
- Tweezers
- Small scissors
- A pencil and two pieces of paper for watercolour (weighs between 90 and 140 lbs)
- Some watercolour for painting her hair, a watercolour palette and brush
- A Stanley knife and cutting mat (optional)
- A little bit of edge lace with one cm width
- Some pink, purple and transparent gems, beads and sequins
- Some silver glitter
- Some handcrafted PVA glue
- An old small brush that you have.
Practice
1. Design a princess crown
1-1 Design a princess crown
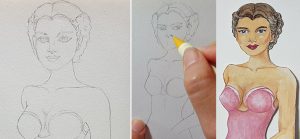
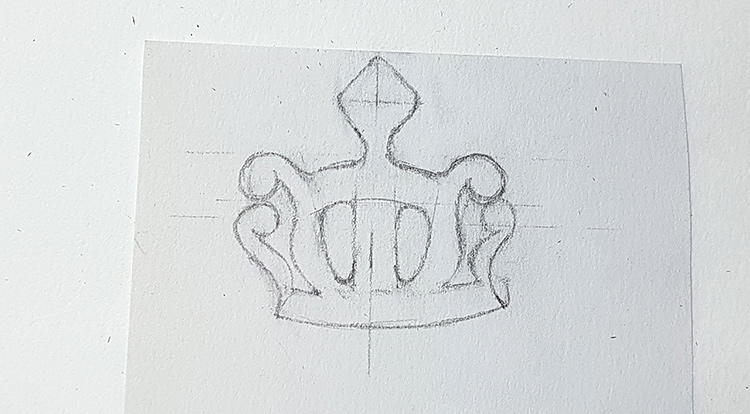
Take your paper doll to make some markers of the top her head and draw her centreline on a piece of paper. Also, draw an arc at the end of the markers which you drew on the top of her head. Start designing an outline of the princess crown along with her centerline. After that, design the symmetrical components on both sides mainly on her centerline.
Once your design is done, draw some guidelines to help your drawing look more precise on the paper, or use a ruler and any shapes stencil template to improve your drawing. In the end, clean up all draft lines and check the width of the crown with your paper doll again.
Here is an example, draw some guidelines to improve my drawing and make these components look more precise on the paper.
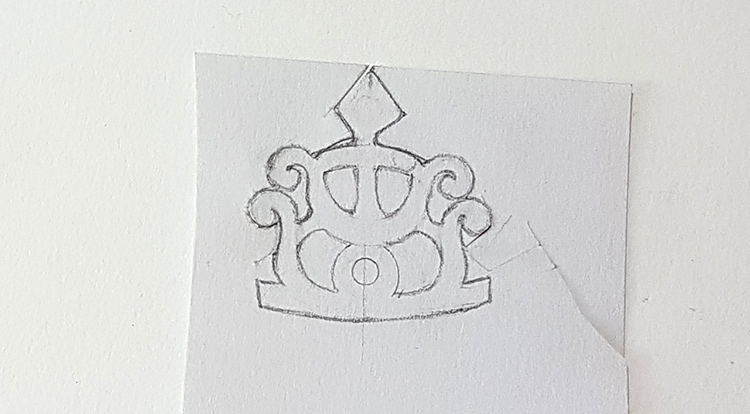
Here is another example that I used with the circle shapes stencil template to design the princess crown.
1-2 Trim the princess crown out
Once you are happy with your design, trim the patch of the princess crown out from the paper. For some hole areas in the crown, it’s optional to use the Stanley knife to cut them out.
This is what I’ve done so far in this step.
2. Handcraft the princess crown
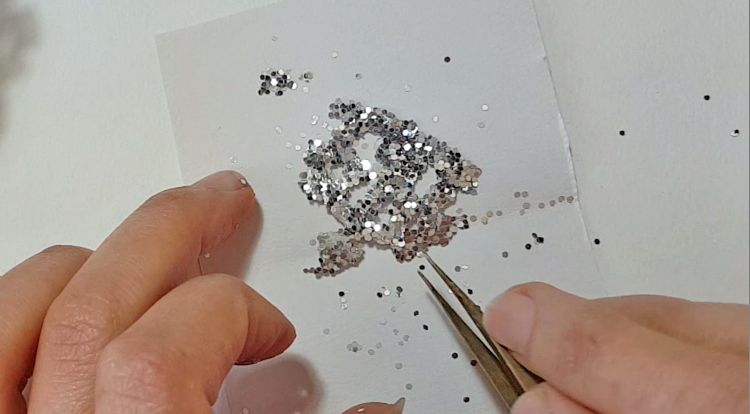
2-1 Sprinkle some glitter on the crown patch
- Brush some glue well on the crown patch.
- Place the crown patch on a piece of paper.
- Sprinkle the glitter on the patch evenly.
- Fold the paper in half and press the area with the patch under.
- Open the paper. Then, hold the crown patch with your tweezers and shake out the excess of the glitter.
- Take the piece of paper and return the rest of the glitter back to the jar.
- Clean edges of the crown patch from the backside with your tweezers.
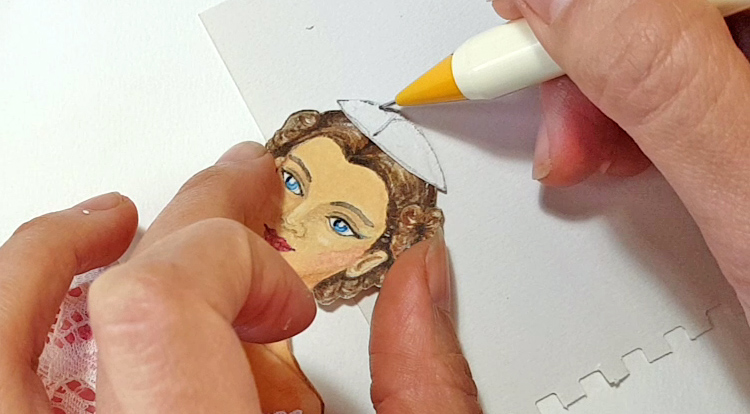
2-2 Draw a beret and paint her hair on it
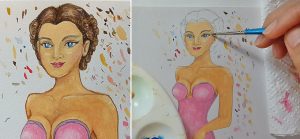
Take your paper doll to draw an outline of the top of her head on a piece of paper to create a beret. Also, draw an arc at the end of this one-third circle which you drew on the top of her head. After that, fold the paper half from the middle top of the circle. Then, trim the one-third circle out. Two pieces of one-third circle should connect together at the middle top. Therefore, just stick the very end of both sides arcs together with a little bit glue. It will be helpful to use some pegs to stabilize them.
When it has dried out, use your tweezers to extend both insides of the beret. Then, get your paper doll and try it on her. Following her center-line and her hairstyle, draw the same things on the beret. After that, paint the beret with watercolor as the same color as her hair.
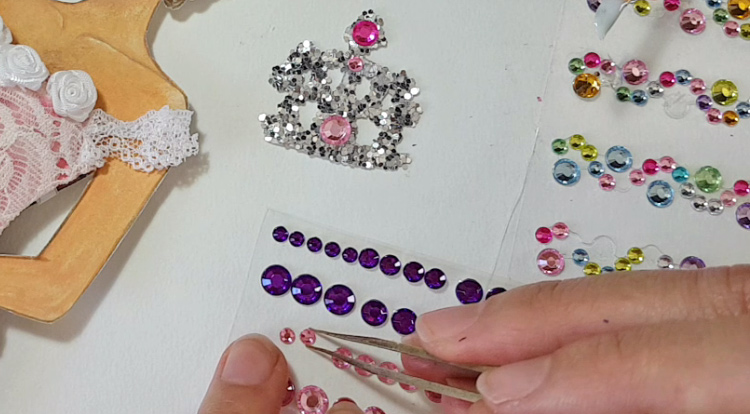
2-3 Decorate gems on the crown
Take all gems stickers which you have, start designing a good colour and the right size of gems to match your design on the princess crown. I would like to use the glue to stick these gems stickers to make them stay well on the surface of the glitter. After that, enjoy the time to design a princess crown with your colourful, shiny and bright gems.
2-4 Put the beret and the princess crown together
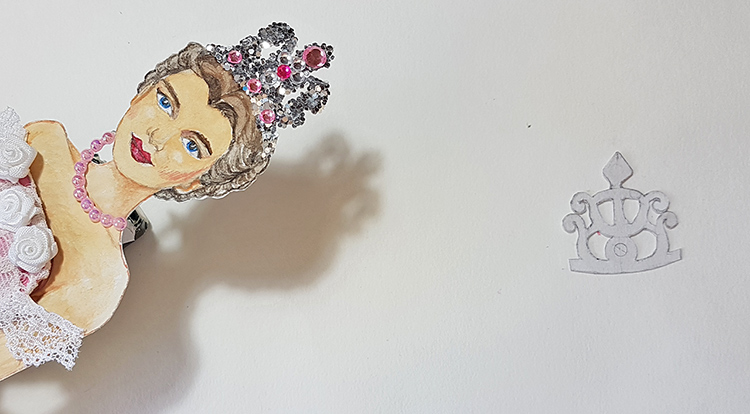
Once you are done the beret and the princess crown, it should look like this.
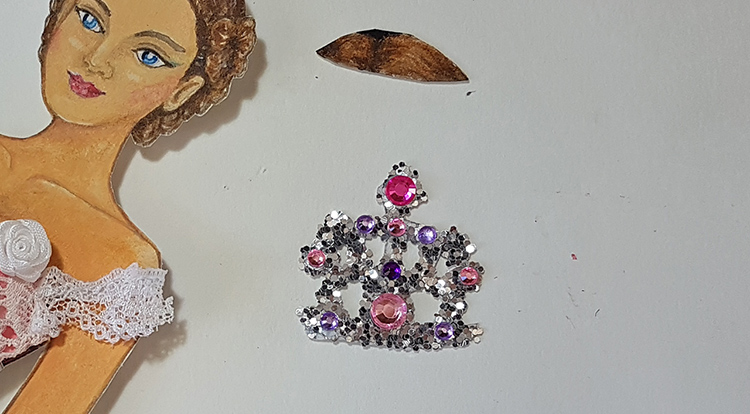
Gently brush some glue on the arc side of the end beret and place the crown on it. After waiting for it dry, open the centre of the beret to put the crown on your paper doll. In my case, she is looking fantastic when the crown is placed on her.
3. Design and handcraft pearl necklace
3-1 Draw a paper patch for necklace
Take your paper doll to draw her neck width on a piece of paper. At the same time, draw two rectangular strips on both sides for being attached to her. Also, draw a thin ring to be bent on her centerline in perspective.
After that, trim the necklace patch out from the paper and erase the drawing lines which are between her neck width.
3-2 Decorate some pearls on the patch
Brush some glue on the patch. Then, take some pink pearl gems to lie on it and stick it through the end. Once all pearl gems are dried out, use your tweezers to fold both sides of the rectangular strips down. After that, take your paper doll to try it on.

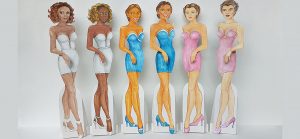
See more info of the different types of necklaces by length to show you some idea for your design
4. Decorate her shoes
4-1 Glue some narrow edge lace
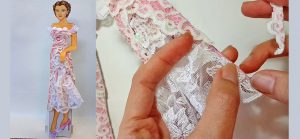
Trim a little bit of edge lace with an arc shape to match her front shoe. Then, glue it on her front shoe.
Process in the same way for her back shoe, but choose an arc shape facing to the point of her side-view shoe. When you are gluing it, fold a little bit at the very left end. Also, keep the right side lace having a long tail end to match her shoe edge. After that, glue it on her side-view shoe.
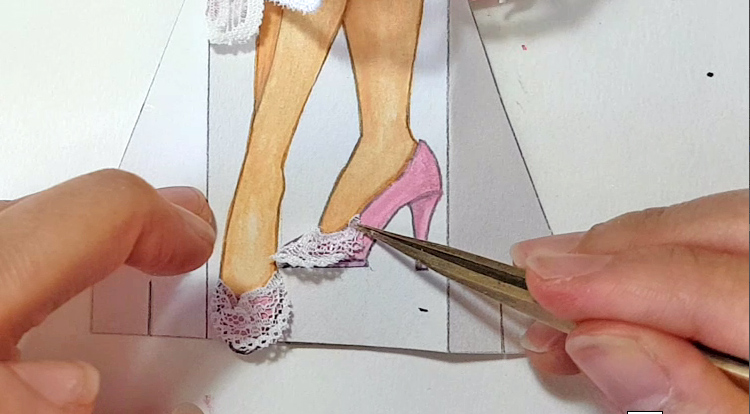
4-2 Decorate gems on her shoes
Let’s decorate some gems on her shoes. Put some glue at the top of her front shoe. Then get a small pink gem to place at the centre top of each shoe. After that, take two purple gems to place at both sides of the pink one. Adjust a little bit of a curve around her shoe edge. For the side-view shoe, glue one purple gem only.
Payoff
Here we go, she has her honorable princess crown and pearl necklace. I am here to offer you some ideas to design your paper doll crown and necklace, please feel free to use your creativity to let her fashion dress and accessories look brilliant.
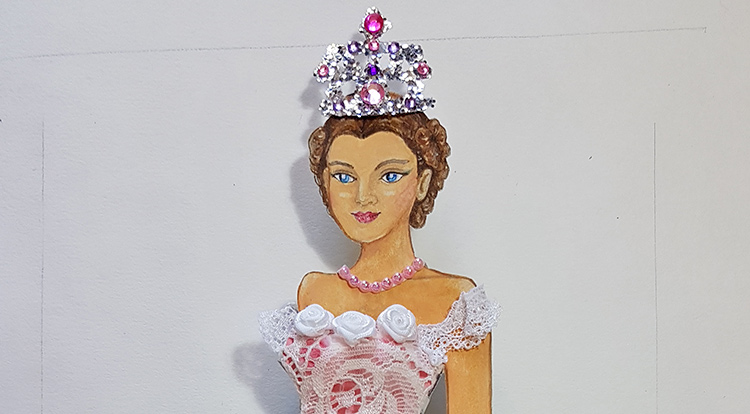
Here, I am showing you what I have done. You can get the link below to send me your artwork. I am keen to see your great handcraft art in fashion design. Also, if you give me your permission I hope I am able to share your artwork with other people on 3howto.com, let us learn handcraft art from each other.
Thank you so much for checking out this course and I hope that you enjoy this tutorial. I will share more interesting DIY courses with you. Please subscribe if you like this content, see you soon next time.