Premise
Hi everyone, this is the most interesting part from the five posts of making her. I am going to make her party dress and accessories in this and the next post. This post will be the fourth of five posts. See the Related Articles or playlist to find out other related posts and videos. Please feel free to follow the design or do your own or use any material which you already have to handcraft on it.
YOU WILL NEED
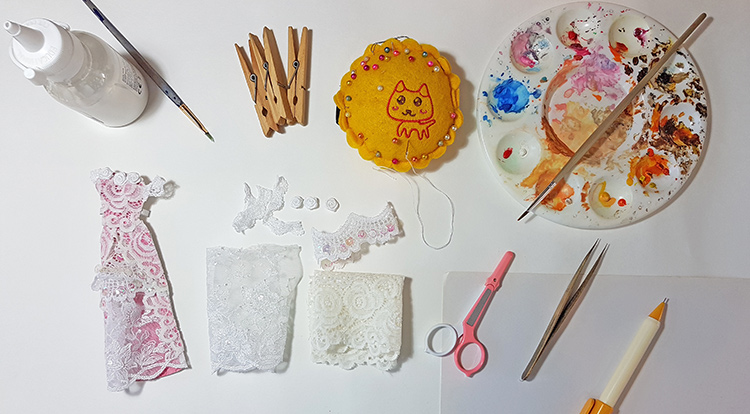
- Tweezers
- Small scissors
- A piece of paper for watercolour (weighs between 90 and 140 lbs)
- A pencil
- The pink watercolour or any colour to match your design, a watercolour palette and brush
- Some white floral lace
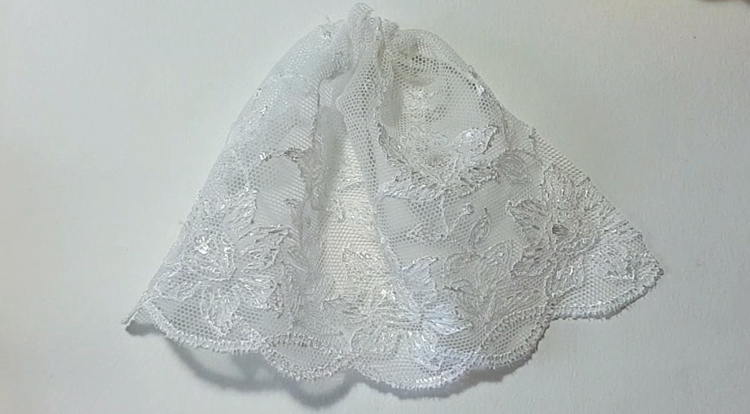
- Some floral edge lace with a width more than 9 cm
- Some white scalloped edge lace
- Some edge lace with one cm width
- Three small white rose
- Two cotton balls
- Some pegs
- A needle with thread
- Handcraft PVA glue
- Any old small brushes that you have
Practice
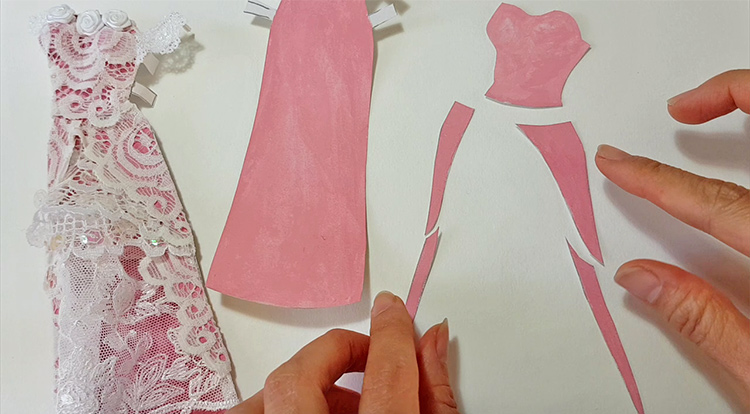
For making the princess style dress, there are three layers as shown below. Let me show you how am I handcrafting it in four steps.
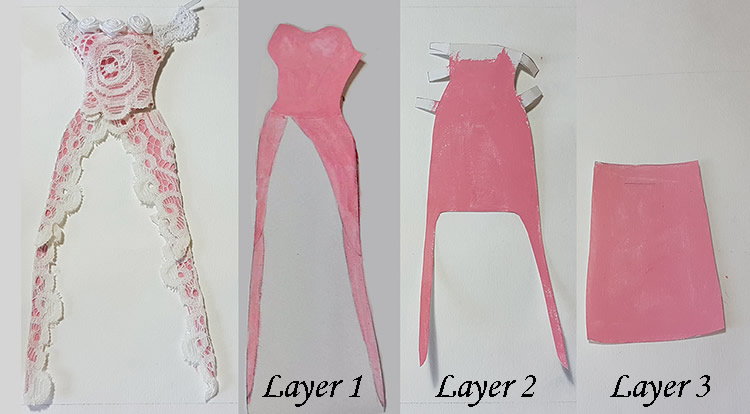
1. Handcraft the dress on the first layer
1-1 Design first layer
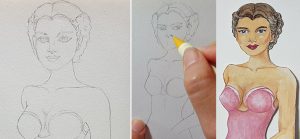
Take your paper doll to draw her figure on a piece of paper. At the same time, design the outline and patches on it. In my case, I would like to make the top and four patches of the side-skirt on the first layer. Don’t draw the rectangular strips on this layer.
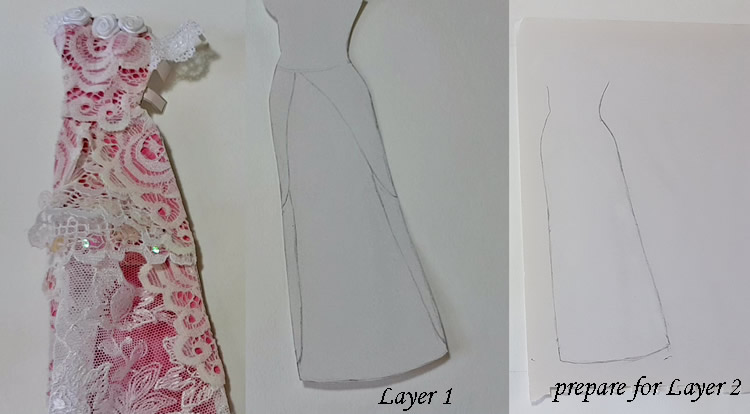
1-2 Trim first layer out
After that, trim the first layer out from the paper. Take your paper doll and put it on her. Check the patch has covered her well and matches your design. At this moment you will need to copy the first layer patch on a piece of paper to prepare for step 2, making the next layer.
1-3 Paint first layer with watercolour
Blend the pink watercolour or any colour that matches your design. Then, paint the colour on the paper patch. You don’t have to be too detailed, just paint on the colour.
1-4 Cut the patches out from the first layer
All right, I am then cutting the patches out from the first layer. These patches will be wrapped by lace in the next step. Keep cutting the rest of the patches from the first layer. In my case, I have five small patches at this stage.
2. Wrapping lace on all patches
2-1 Wrap the top patch with lace
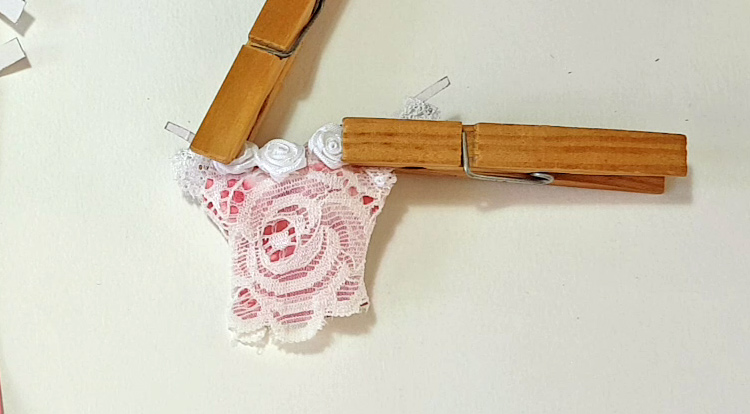
Get a piece of lace which is bigger than the top patch and make the floral edge face her waist. After that, trim the lace shape to match her chest curve well and put the glue on the patch. Turn to the backside to fold the edge of the lace. Then, stick the lace on the patch. Once it has been glued, use a peg to make it stable.
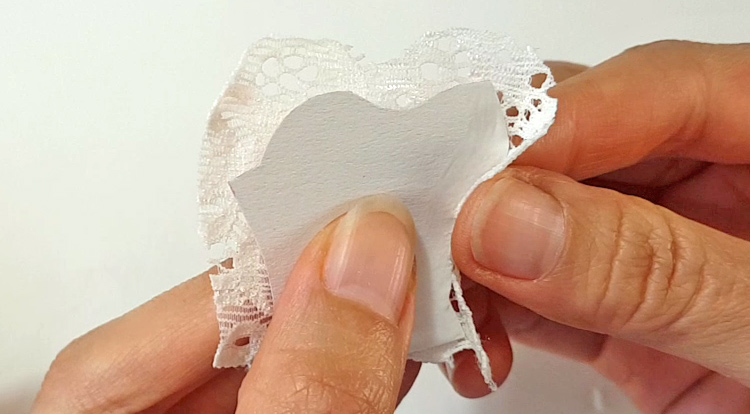
Take your time, you will need to wait for one or two sides to dry out first. Then, you are able to continue on to the next process. Otherwise, it won’t look good. Continually process it in this way until the entire patch has been wrapped well with the lace.
2-2 Handcraft side-skirt patches
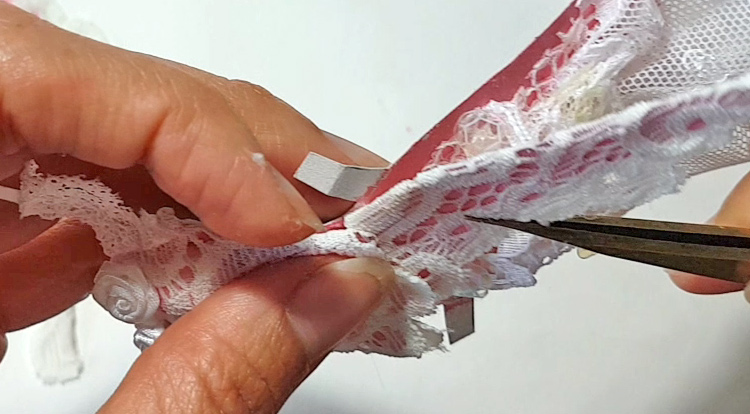
All right, I am going to handcraft the right upper side-skirt patch. Take a piece of lace and make the floral edge face centre of her skirt. Then, trim the lace shape about 0.5 cm bigger than the patch.
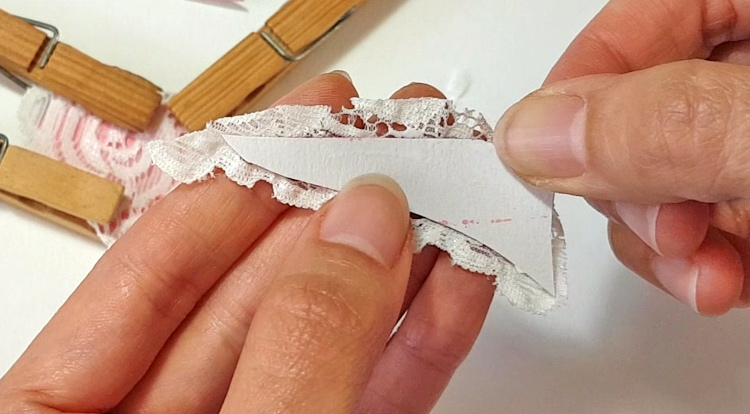
After that, turn to the backside and glue it. Brush some glue on the lace and fold the edge of the lace to the patch. When the patch has been wrapped, use the peg to stabilize it. Process one side at a one time and wait for it dry out. Then process the other side.
About the rest of the other three side-skirt patches, I will process it in the same way and finish all four patch bits at this stage.
2-3 Handcraft chest part
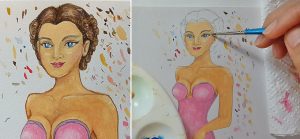
All right, I am going to process the chest part. Firstly, paint the two cotton balls pink and wait for it dry out. Use your tweezers to gently place it into the top patch from her waist side. Make sure the cotton balls have stayed in the right position in her top clothing.
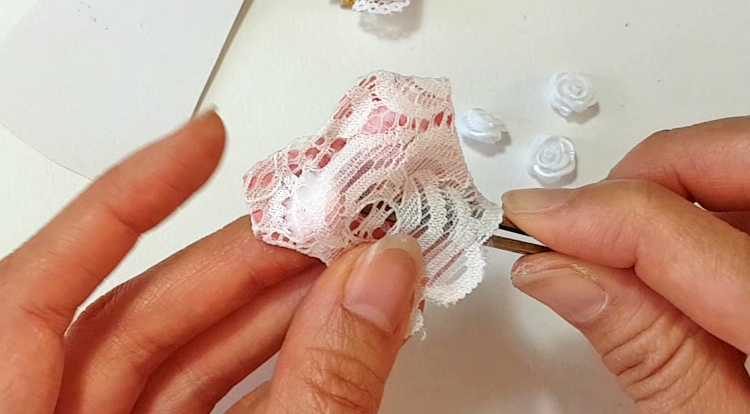
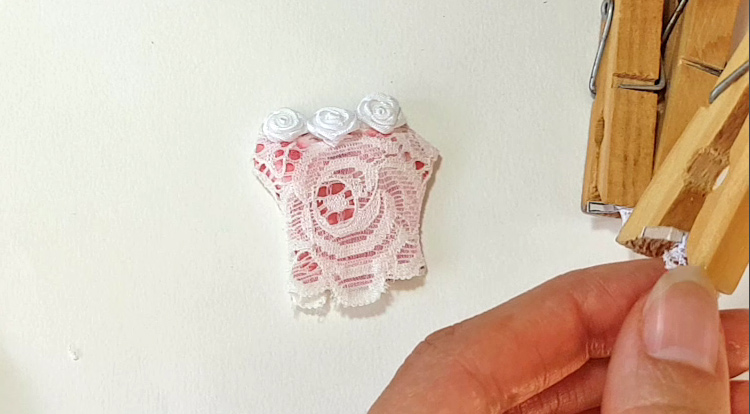
2-4 Stick some roses on the upper edge of her top
Put some glue at her upper edge centre, then place a rose on it. After that, take a peg to stabilize it with the top and wait for it dry out. Process in the same way to glue left and right rose on her top clothing too.
2-5 Handcraft narrow edge lace on her shoulders
Take your paper doll to draw the width of her right arm on a piece of paper. At the same time, draw rectangular strips on both sides. Process the same way for her left side too. Draw a narrow strip between her arm width. It’s designed for sticking a narrow edge lace on it.
After that, trim these patches out and erase the drawing lines which are between her arm width. Then, get the top clothing to check the position. Then, take the piece which you have just made to stick on it.
At the same time, get some lace to stick on it too. However, when you glue the lace with it, make both ends fold back a little bit to stick on the patch. After that, use the pegs to stabilize them together.
For the left side, I will process it in the same way. This is what I’ve done so far in this step.
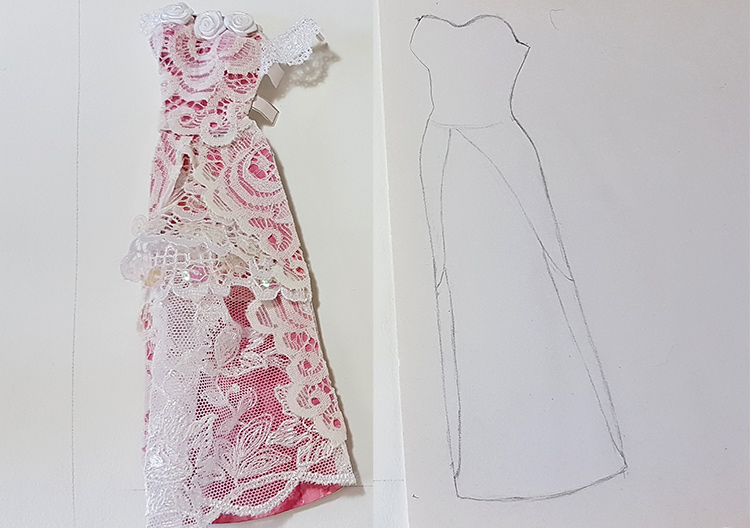
3. Design the second layer and make a lace skirt on it
3-1 Design the second layer
Take the outline drawing which you copied and prepared from step 1, continue to draw some rectangular strips on both sides. Also, mark the short skirt position from the paper doll. It is because I am going to draw a skirt with a short front and long back style on the patch in the second layer.
After that, just trim it out and paint the pink colour on it.
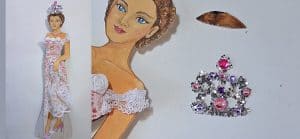
3-2 Folding and stitching a lace pattern
Put some thread on a needle, also make a knot on the end. Then, stitch the 9 cm depth floral edge lace with a fold of 0.5 cm at the beginning. Go through the whole lace folding and stitching through as you go. When you are stitching you don’t have to make the gap too close. Then, shorten the whole stitching length to 1.5 cm long. In the end, fold lace 0.5 cm at the end. After that, stitch back all length to make it stay well. Finally, make a knot to finish it.
3-3 Glue wavy skirt part and the lace pattern
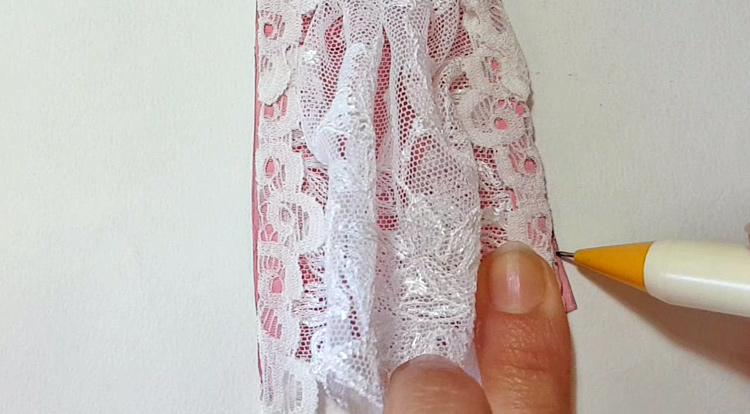
Take two pieces of upper side-skirt bits to mark a curve around her waist on the second layer. Also, make a mark at the intersection of these two bits. The gap between two markers will be placed in the first of the scalloped edge lace. After that, get the lace and let the arc face down of the skirt and let the indentation be around her waist. Then, trim the lace both sides shorter than the second layer a little bit. After that, glue it on the second layer.
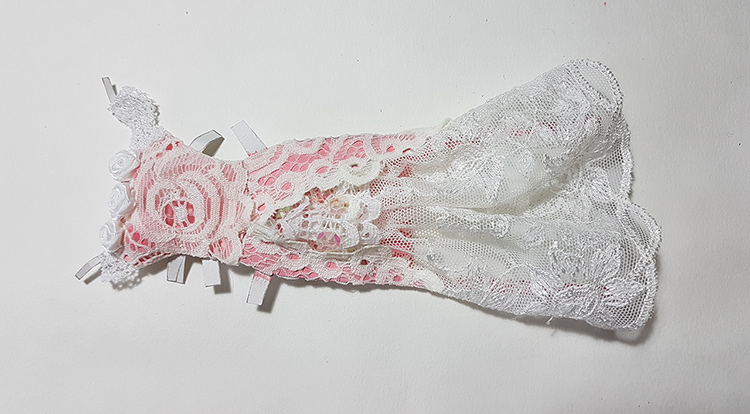
Then, I am going to stick the second and third arcs of the scalloped edge lace on front of her skirt in the same way. However, I will make these lengths of lace a little bit longer to make some wrinkles under each one.
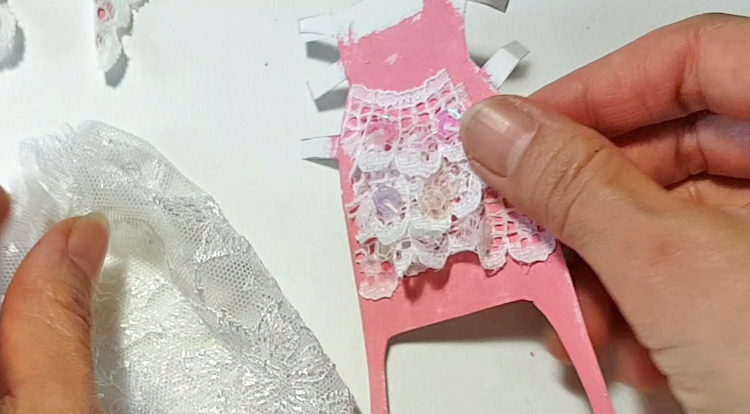
All right, take the lace pattern which you have stitched from the step before to glue it under the third arc. Also, brush the glue on both sides of the second layer and stick both sides of the lace pattern on it.
3-4 Glue the top and side-skirt bits on the second layer
At this moment I am going to glue the top and upper side-skirt bits. Also, glue the top clothing on the correct position. Then, brush the glue on the upper right side-skirt bit and try to place it under the top clothing. Process the same way for the upper left side-skirt bit too.
This is what I’ve done so far in this step.
4 Design the third layer
4-1 Create the third layer paper patch
Take the second layer that you’ve done from the last step to draw the area which is empty. Draw all the outline of the bottom skirt area and mark the height of the empty area and draw its height about one cm taller than it.
After that, paint pink colour on the paper patch and trim it out.

4-2 Glue the lower side-skirt bits on the second layer
Once the third layer is drawn, I am able to glue the lower side-skirt bits on the second layer and finish it.
4-3 Glue the second layer and third layer together
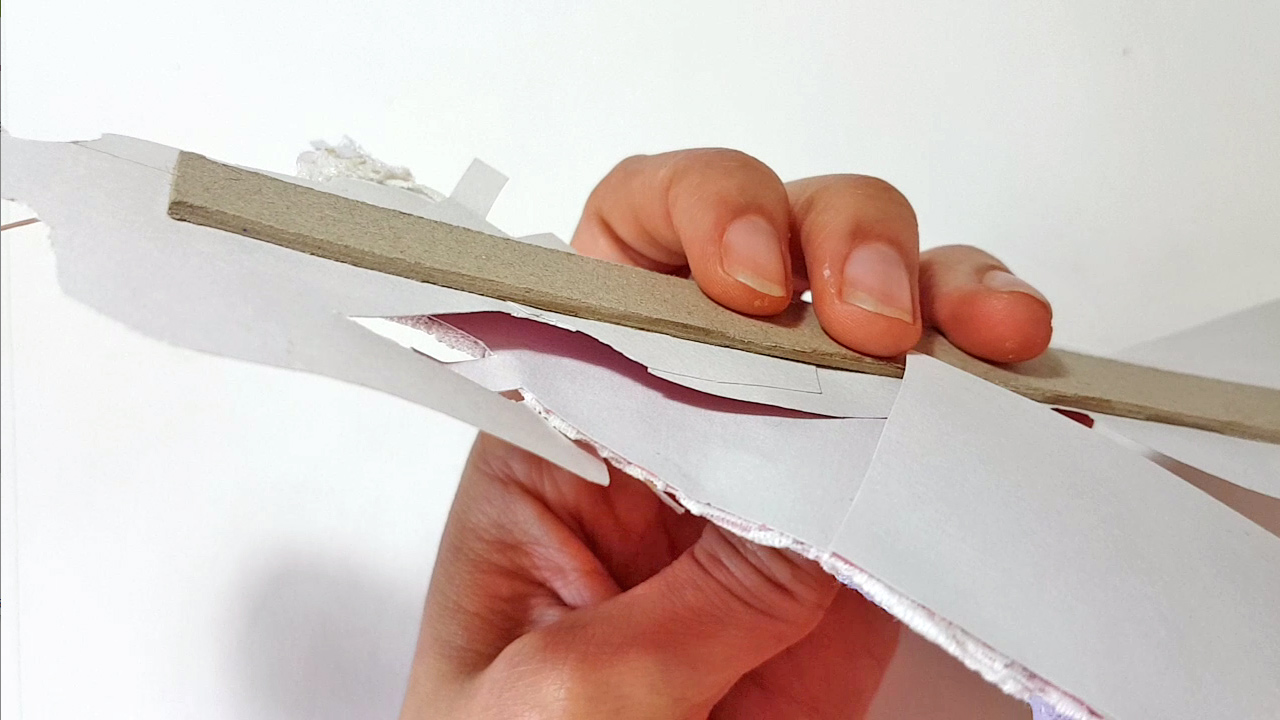
Take the second and the third layer together to check their outline. In my case, the third layer looks a little bit bigger on the right bottom and left side. Therefore, mark the excess parts and trim them out.
Finally, the last step is to glue the right sides of second and third layers together. That’s all you need to do.
Payoff
How your paper doll can wear these three dress layers? There are three steps below to clothe her.
- Tilt her clothes 45 degrees toward the left to allow her right hand to go over the clothes
- Let the third layer slide into her from the backside
- Put all rectangular strips on her
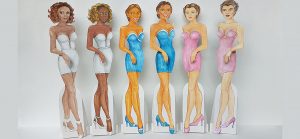
Here we go, she has her elegant princess style dress. I am here to offer you some ideas to design three layers of the paper doll party dress, please feel free to use your creativity to let her dress look awesome.
Thank you so much for checking out this course and I hope that you enjoy this tutorial. I will share more interesting DIY courses with you. Please subscribe if you like this content, see you soon next time.