Premise
Orange segments are fantastic in salads or desserts. Once the bitter white pith and wall have been removed, they are looking attractive shining on a plate. We will learn two ways of orange art in this article, and you can use these two ways for any other citrus. The second way is my invention. It's an exclusive skill to disclosure for you.
YOU WILL NEED
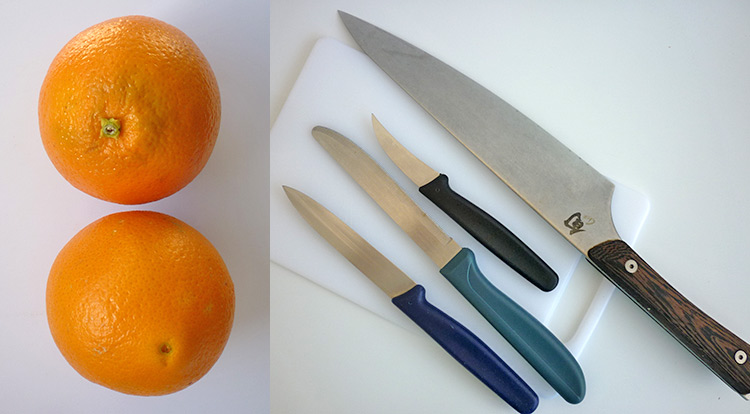
- A curved blade or straight blade paring knife
- Optional: a serrated blade paring knife
- A chopping board
- Two oranges
Practice
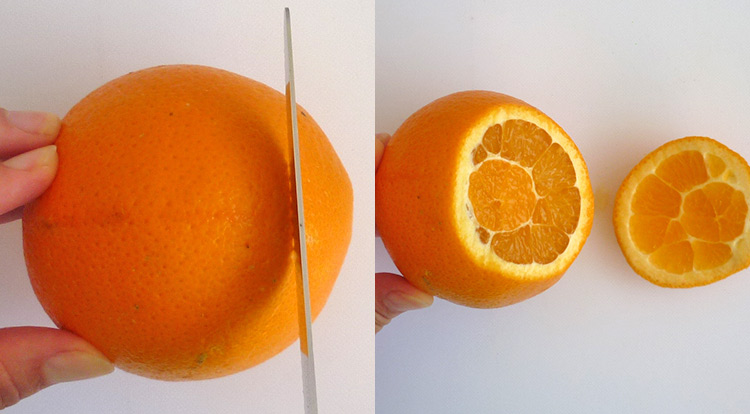
1. Remove orange peel
Use a serrated blade paring knife to cut off both ends of the orange.
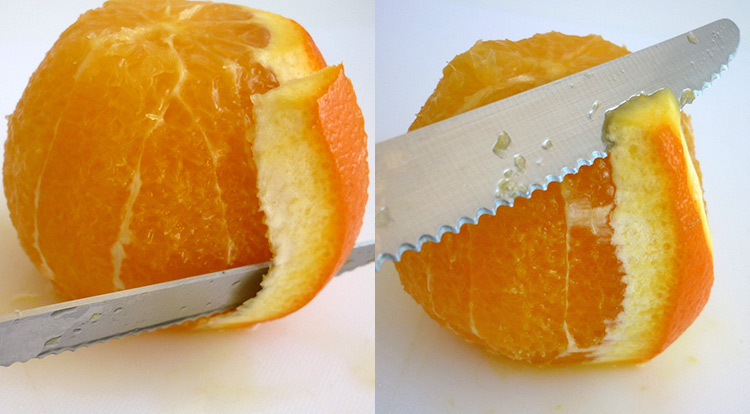
When you start cutting the orange peel, try to follow the white pith and make the paring knife follow the curve of the orange.
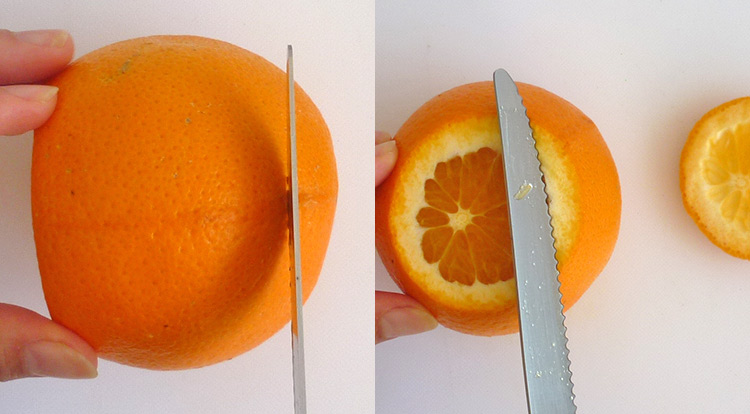
It’s better to use the serrated blade paring knife because it will squash and pressure less.
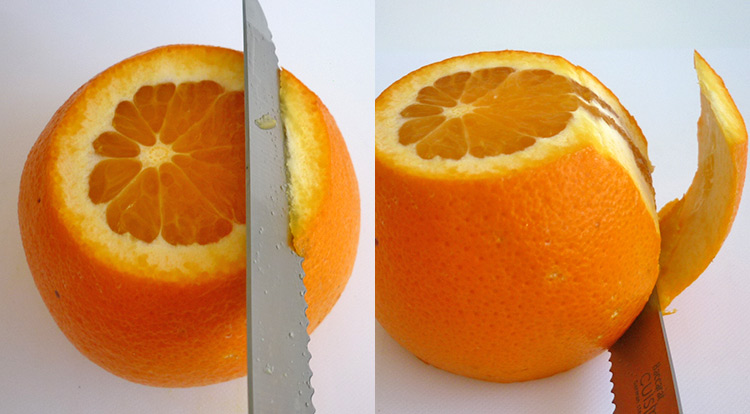
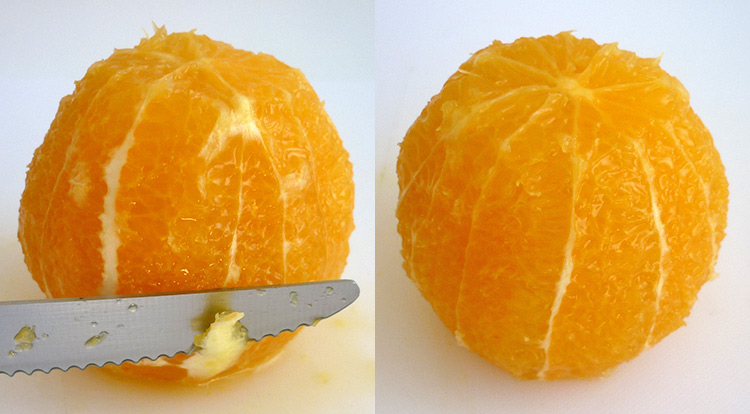
Once the first cut has been done, you should see the edge between the white pith and the flesh. Please follow that edge to continue slicing the rest of the skin off.

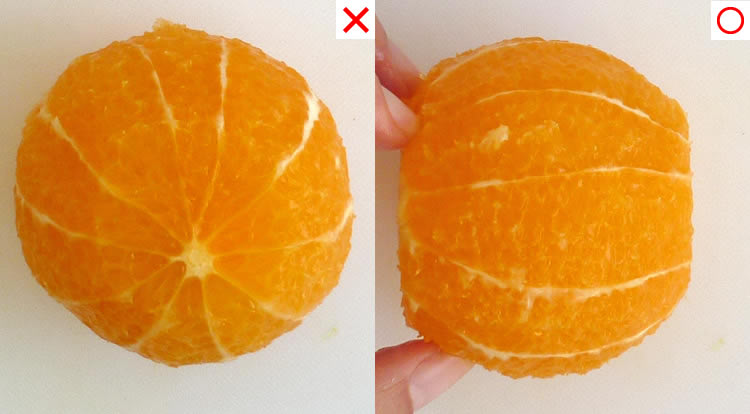
If you remove the white pith well, you will end up with clear orange flesh.
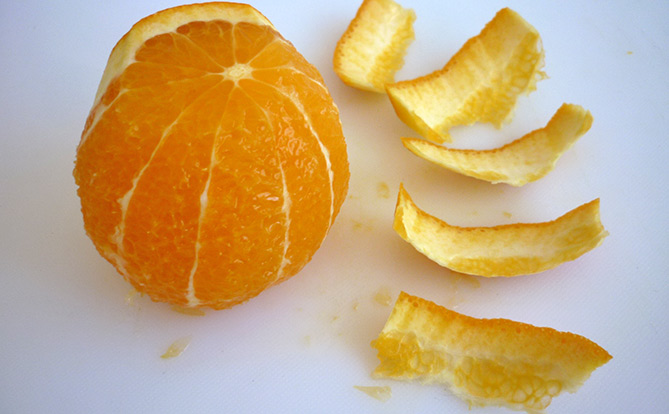
Don’t be too greedy and cut off too much skin each cut. If you do, you might remove lots of flesh away and the remaining orange won’t be very spherical.
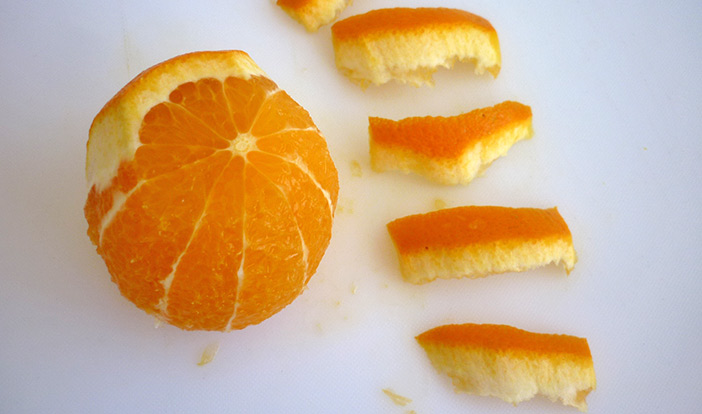
Keep slicing off the peel until all finished.
If there is some white pith left, remove all of it away.
2. Cut an orange into segments
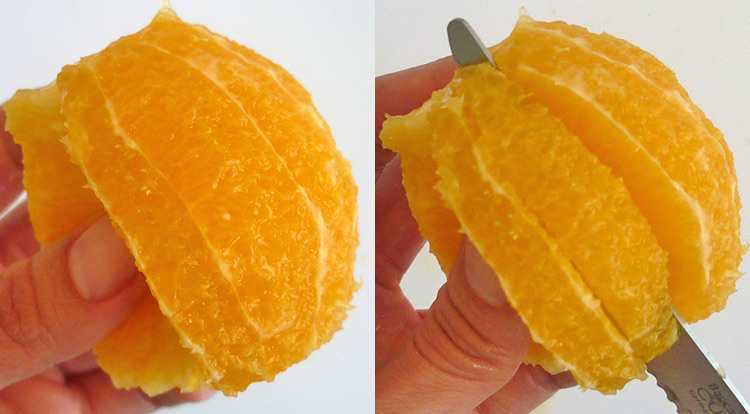
For cutting between two connective membranes of a segment. You will need to align one membrane of the orange and cut the knife down to the core of orange.
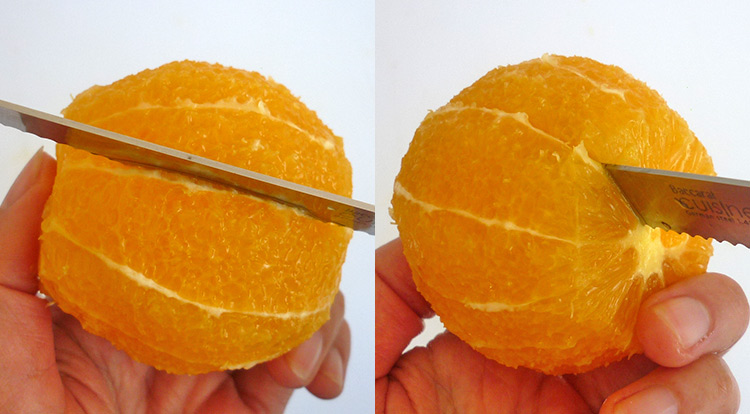
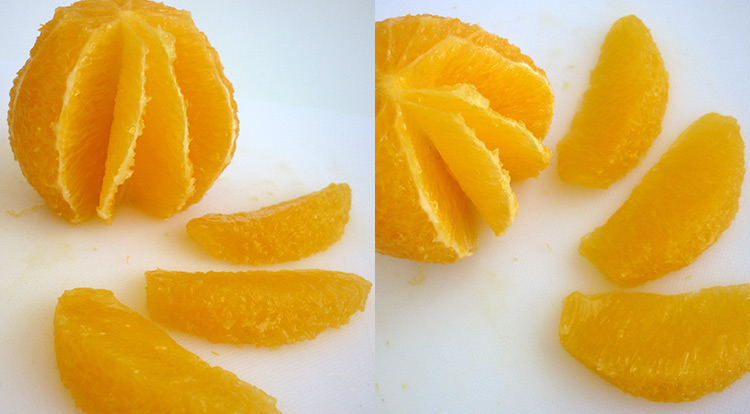
Process the other side of the segment until you are able to reach the middle of the orange. Then take the segment out.
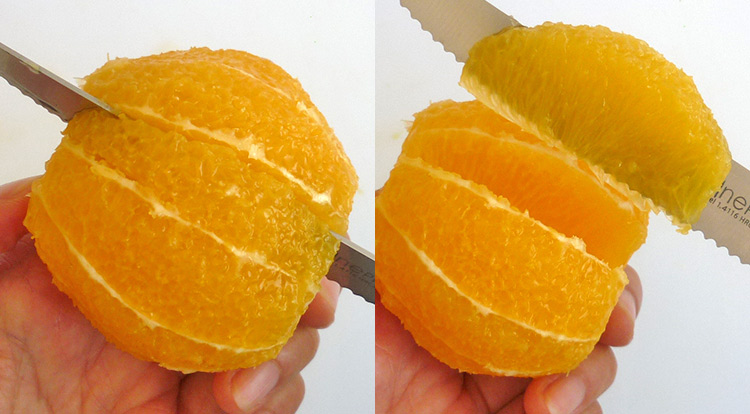
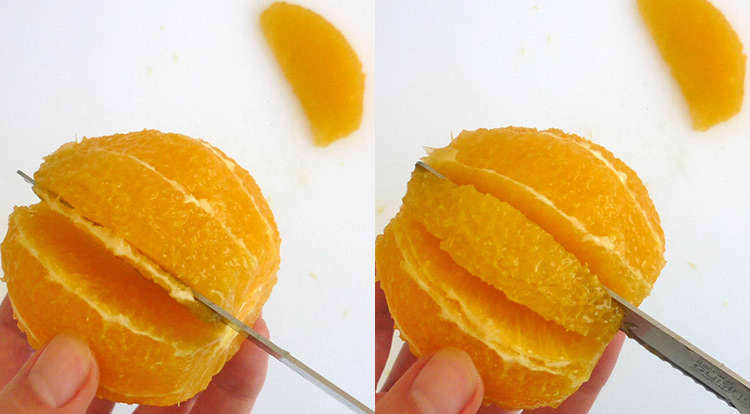
When you are processing the second segment, slice next to the first segment and continue to process one after another.
Use your thumb that is holding the orange to hold down the membranes while you are processing.
Gently slice segments and prevent generating too much juice while you are slicing them.
If a segment is too small, you can skip it and slice the one after or find the big segments to process.
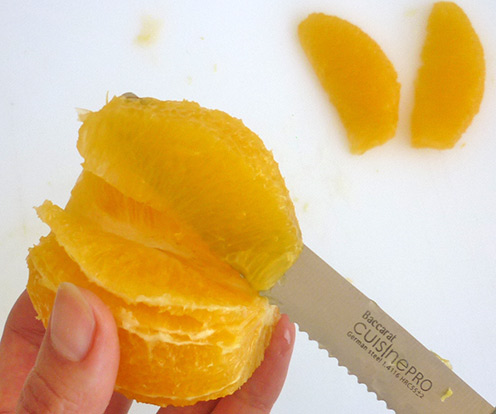
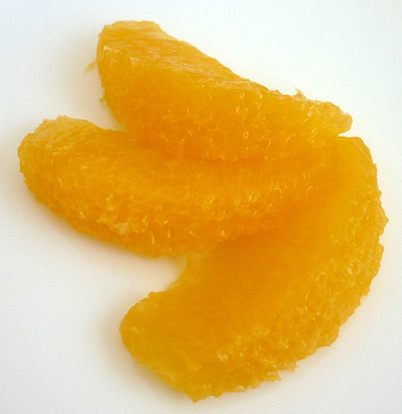
Finally, you should have segments without any white pith and membrane on it.
3. Orange Chain
Please follow the steps in section 1. to remove the orange peel off first. After that, we are going to process it sideways.
3-1 Slicing orange and making hole in the centre
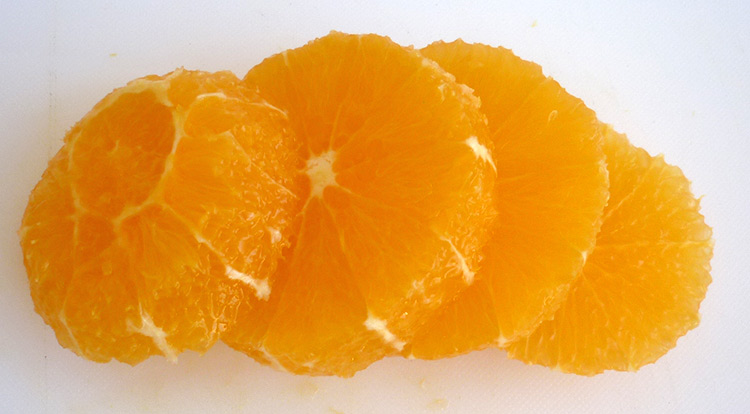
Slice the entire orange with three cuts on the side of the orange.
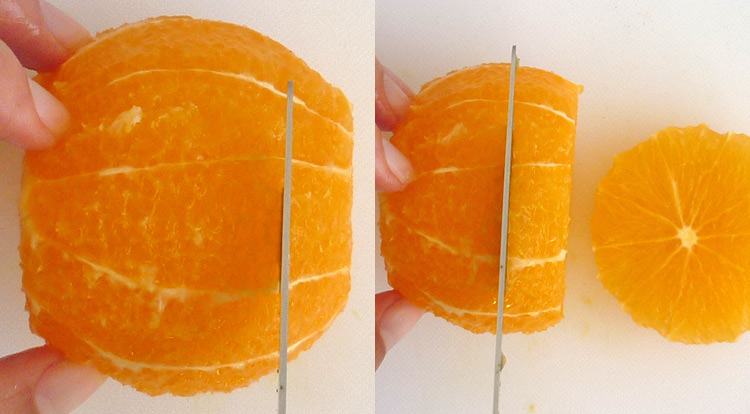
As such, you will get the four slices of it.
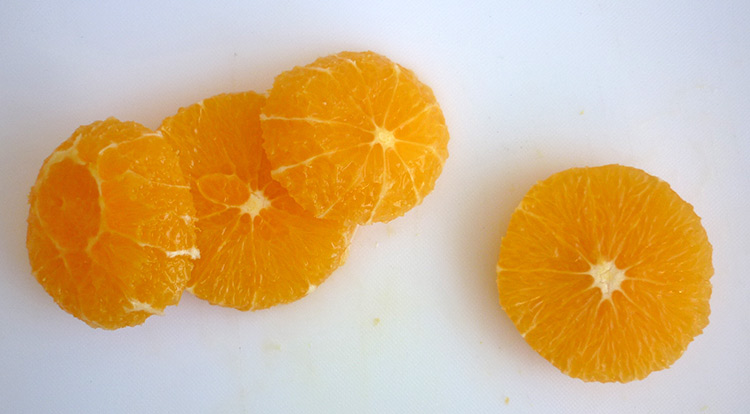
Take one of the bigger slices away from the middle. We are going to use both ends and one big diameter slice for the orange chain decoration.
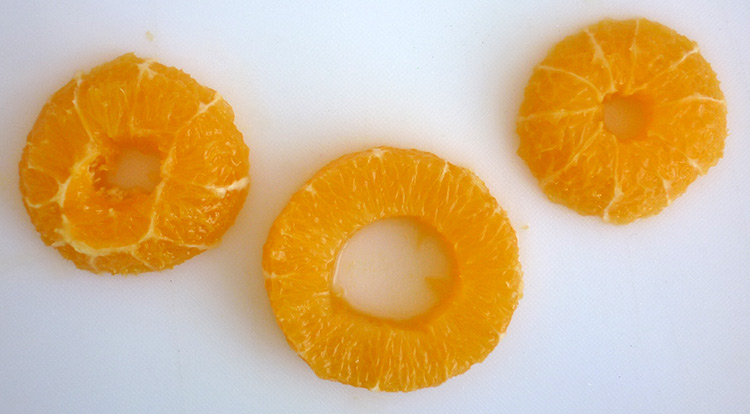
We will dig a hole in these three slices. However, the sizes on the holes are different.
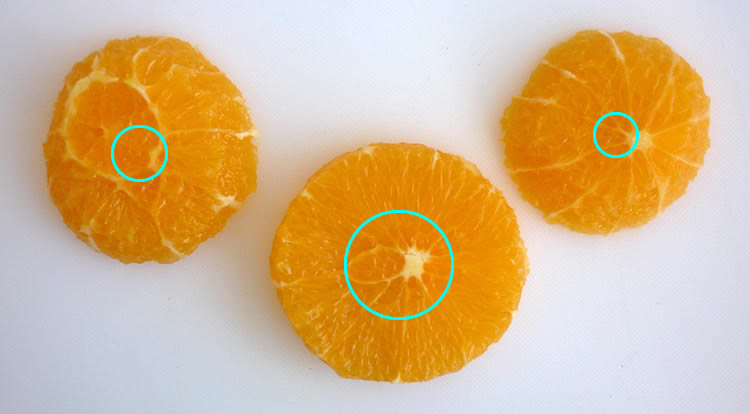
The diameter hole in the middle ring will be designed to accommodate the thickness of both end rings. Because we are going to put both end rings into the middle hole of the ring.

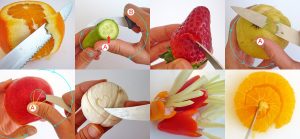
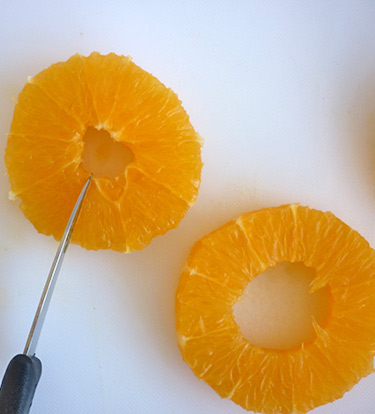
After that, use the point of a paring knife to carve a hole from the sliced orange.
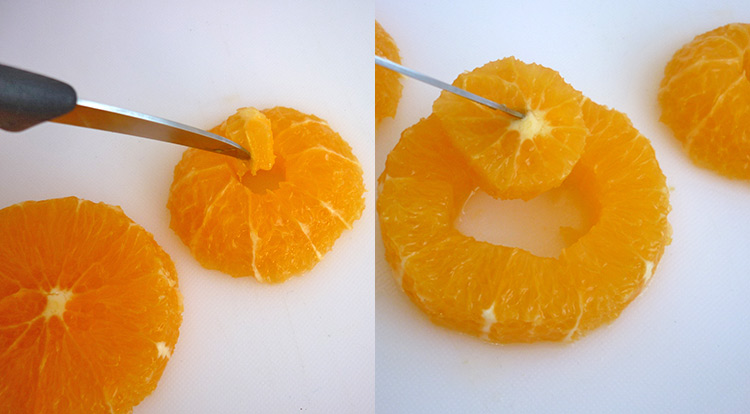
Check picture-20 to cut the right sizes of holes on each one.
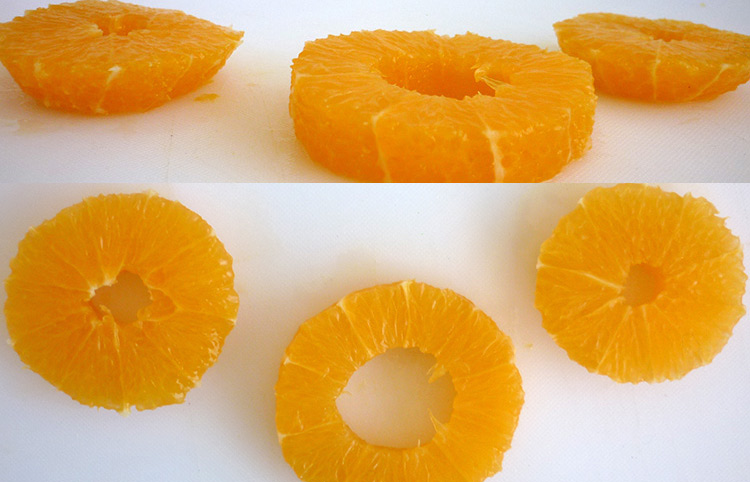
Be aware to use the correct side of the slice of the orange decoration. On the side view, you can see both ends of slices are a trapezoid.

Please turn both ends of sliced orange with the larger diameters facing up.
3-2 Chain orange together
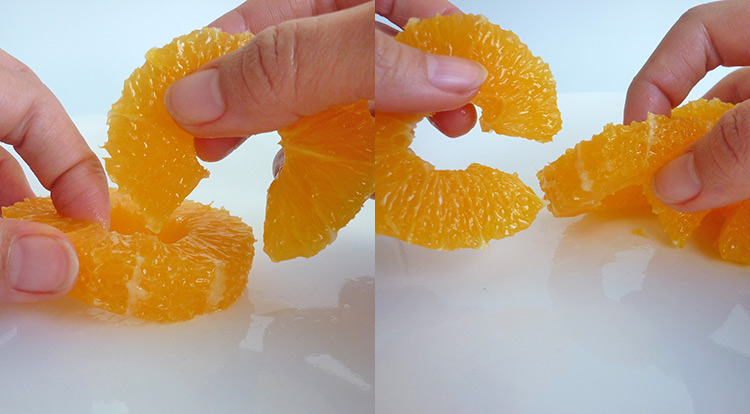
Cut through the ring of the end sliced orange of one membrane.
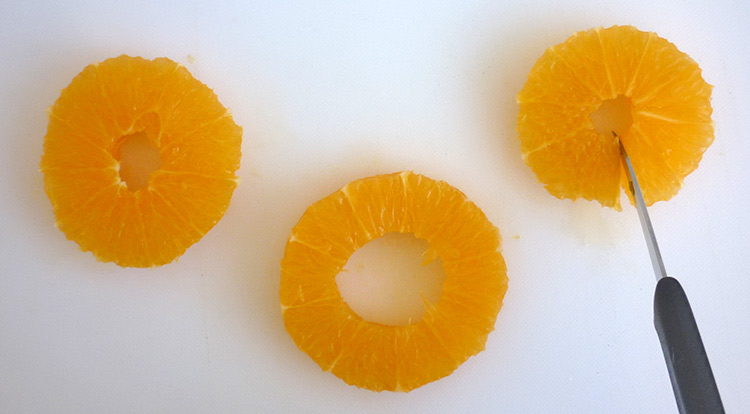
You will only process it on both end pieces of sliced orange. Keep the middle ring with no cuts.
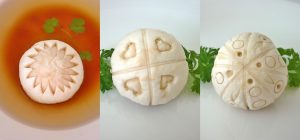
How can we connect the three rings together? Please see picture-28, slip the two end pieces through the cuts over the edge of the centre ring.
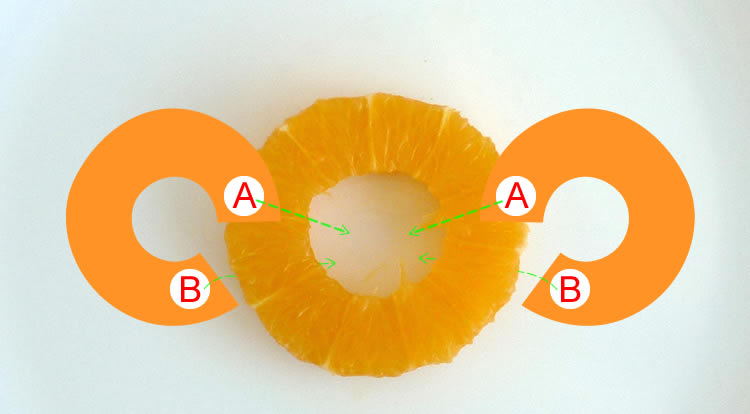
Let us process it from the right-hand side ring first. Use your left hand to lift the middle ring, right hand to hold and extend the A and B point from the end slice ring. Put A point into the centre hole of the middle ring. At the same time, let the B point rest behind the middle ring. Do the same for the right-hand side ring.
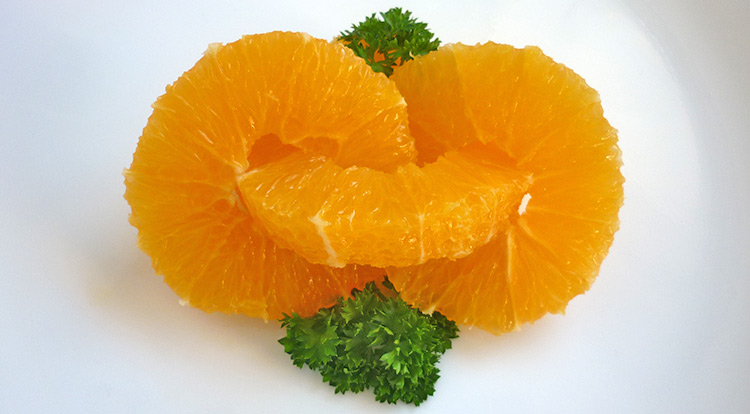
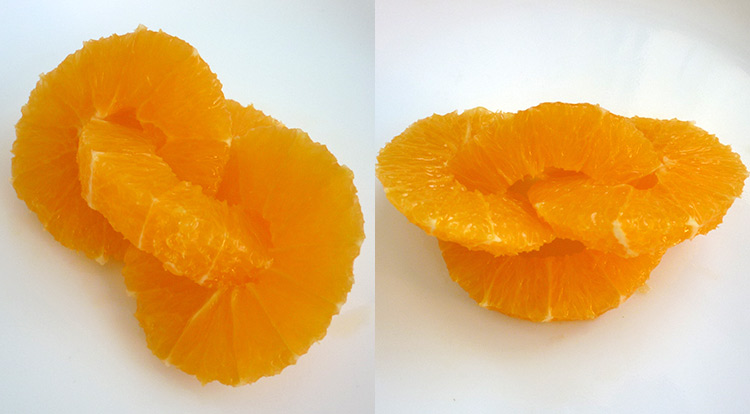
Finally, you should get the left and right small rings to chain through the middle ring. The middle ring should be lifted up in the centre of the chain.
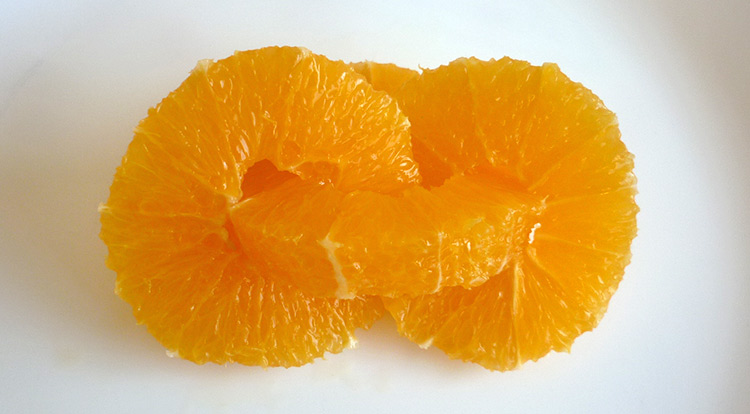
When you are using this for food decoration, you should let the front view face your service target. As this design of food art has its different views. In picture-31 the left-hand side is the right top view, and the right-hand side is the back view or the orange chain.
Payoff
The orange segments are very good to garnish in salads or desserts. The yellow juicy looking fruit is the right size for putting in a mouth without more cutting.
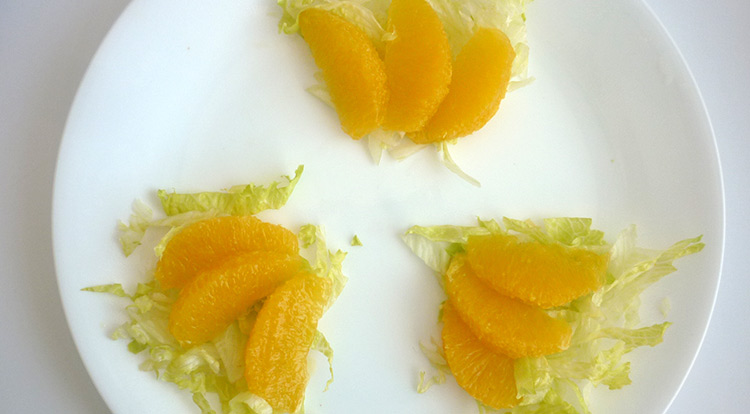
Some tips here for if you are preparing the orange chain food decoration. The thickness of the sliced orange should be the same. The diameter holes on the rings of both ends should match the thickness of the middle ring. Also, you are able to add some small leaves of green herbs around the orange chain to make it look more charming.