Premise
Hi everyone, I am going to show you how to make a tiny and easy flower with one or multi petals. It's going to be very easy, but you can play with your creative ability.
YOU WILL NEED
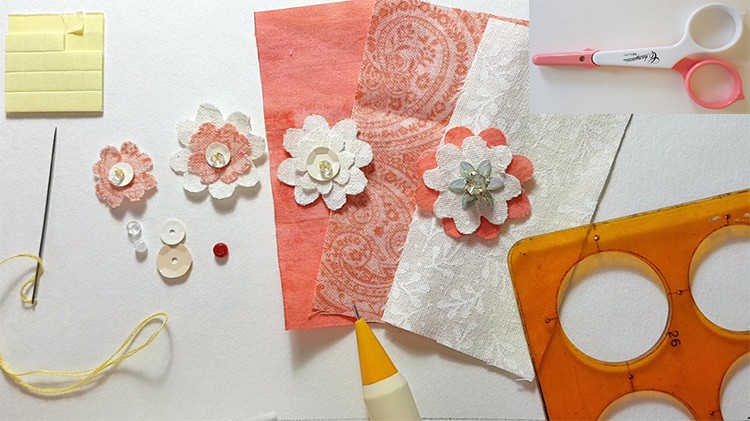
- A piece paper and pencil (or pen), we are going to draw a flower template pattern on the paper
- A circle stencil template.If you don’t have any, you can get any circle-shaped object to draw
- A piece cloth with some tiny subtle pattern
- A needle with thread
- Some beads and sequins, their colour should match your design
- To make the flower be able to stick on other things, you will need to prepare some double-sided foam tape
- It’s always good to have tweezers and it will help you to pick up a tiny thing
Practice
1. Draw a flower template paper pattern and cut it out
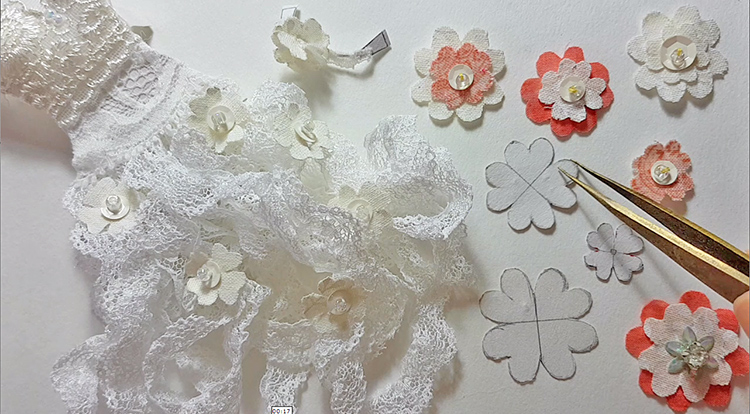
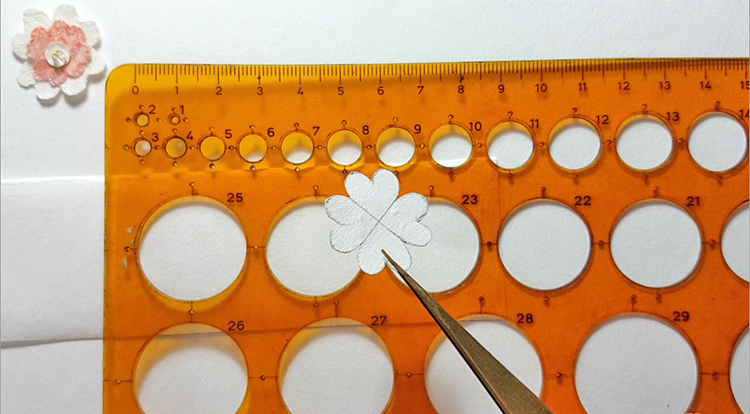
We are going to draw a flower template paper pattern like this one. In this case, I decided to draw a 2.3 cm dimension flower. From the circle stencil template, you can see that it has four edge point markers. That’s the points we can use to create four petals. Mark these four points and draw a circle. Then, connect the two opposite points together. For these four petals, mark a point in the middle of each of them. Then, start drawing a heart shape. On the radius of this circle, we make another point at the centre, it will look like a small circle in the big one for the location of the four petals connection.
All right, you will need to cut this one out to get your flower template paper pattern.
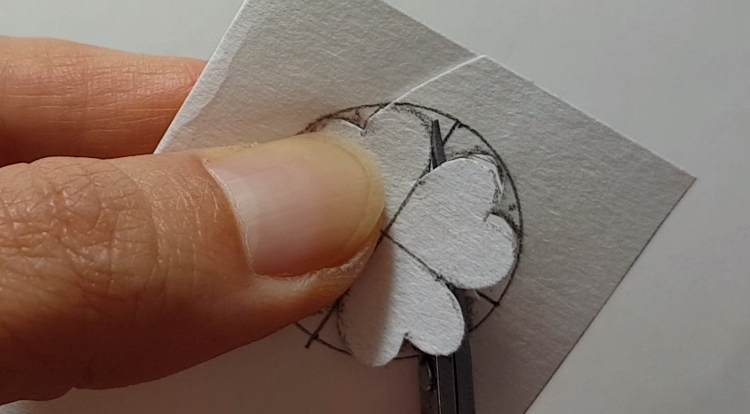
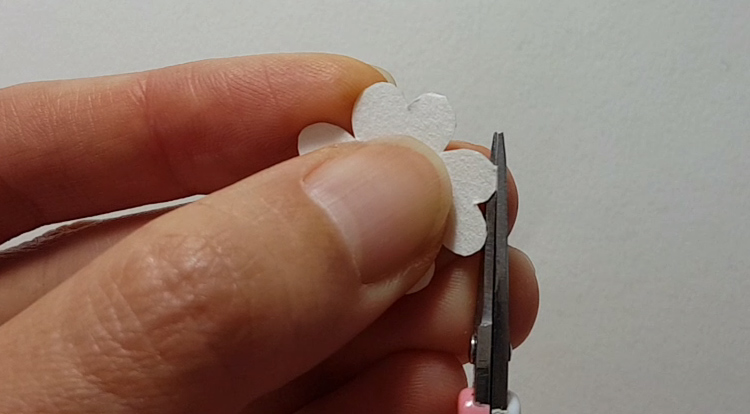
I am trying to trim the pattern to look better, especially at the end of the circle shape. Make sure they are looking round enough.
2. Draw the paper pattern on a piece of cloth and cut it out
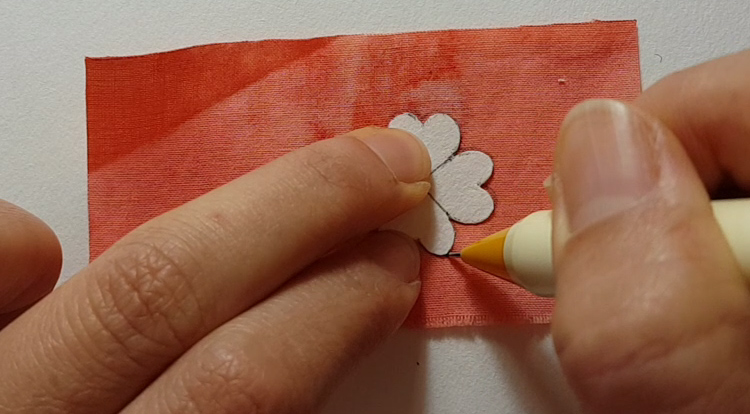
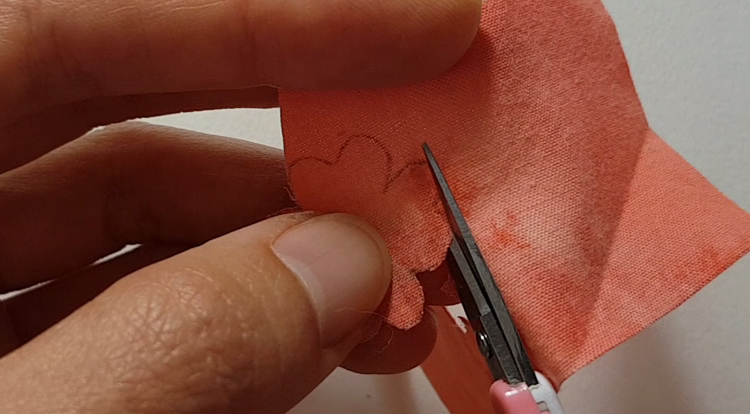
Please feel free to use any pen or pencil that you are happy with. Just draw the paper pattern on a piece of cloth which you choose for making the flower. It’s a good practice to make a paper pattern, as you are able to make some flowers in the same shape as many times as you like. Then, cut this flower shape out.
3. Stitch bead and sequins at the centre and stick foam tape to the backside
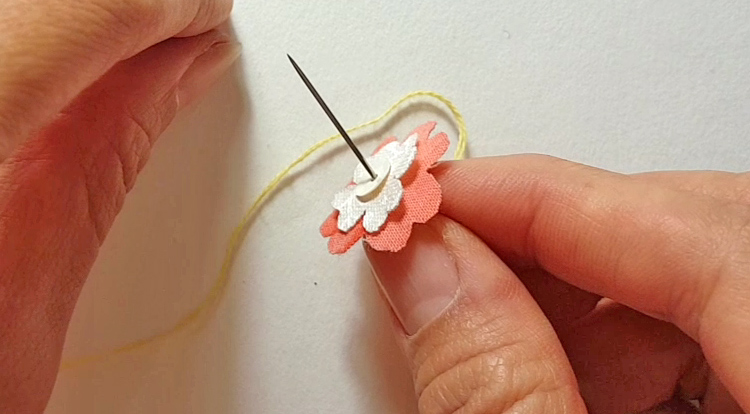
Here, I have prepared a smaller white flower earlier, then we place it on the one we just made at the top with a little angle to stagger the petal shapes. All right, it’s a good time to play around your creative ability. Until you are happy with your final design, we can stitch flowers, bead and sequins together. Follow the order to connect them.
In the end, make a knot, then cut the excess off. All right, we can get a foam tape to stick on the backside of the flower.
Here we go, that’s a simple way to make a flower.
Payoff
Actually you can prepare different sizes of flower template paper patterns and play around a bit to design your flower layers. Check the dimension of the flowers are looking good first before you go any further.
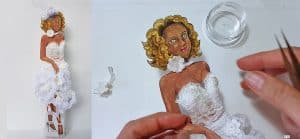
See this necklet for a paper doll is using the same dimensions on two layers. Then, the garnish flowers on her skirt are using one layer only. Use different size dimensions for flowers and different colour materials with different beads and sequins through your creative ability to make them look good and stunning.
I hope it will all make a sense to you and I hope that was simple and easy enough for you to follow along. At the same time, I am trying to make this course short and able to be quickly picked up. Thank you so much for checking out this course and I hope that you enjoy this tutorial. I will share the more interesting DIY course with you. Please subscribe if you like this content, see you soon next time.
